Twenty years ago, when we moved into this house, we felt something had to be done. The only way into the tiny downstairs bathroom was through Paul's parents' bedroom. Anne had curtained off a little passage with chenille bedspreads, but it still made us uncomfortable.
At that time, the bathroom was at one end of the back porch. The rest of the porch was a laundry area. We decided to turn the whole thing into a bathroom.
We took out the clawfoot tub and replaced it with a fiberglass tub and shower combo. We now realize this was stupid. The smartest thing we added was a pocket door to separate the tub and toilet area from the sinks and mirror area that we added in the former laundry area.
 |
| Before: looking reasonably good if you're not up close |
It served us well. On many many school mornings the bathroom buzzed with activity as I braided the girls' hair, everyone brushed their teeth, and people pounded on the pocket door, waiting for their turn. I changed diapers on the long counter between the sinks and washed and bandaged wounds. Water balloons were filled there, and cats got baths.
The bathroom was exhausted. Mold crept across the corners, and we suspected the floor was rotting under the linoleum near the shower. Worst, one side of the room had settled just enough to make it impossible to latch or lock the doors. Our family trusted each other to knock and holler, but it was disconcerting for guests.
As with our office redo, it was good that we plunged in without knowing how much work it was going to be. And it still isn't 100% finished.
My friend Twila, who is married to Paul's cousin Brian, said she's not posting pictures of her new kitchen until it's completely done. I decided not to follow her example, since there might be hard water spots on the new tile by the time the last towel bar is up.
 |
| Before |
 |
| Before |
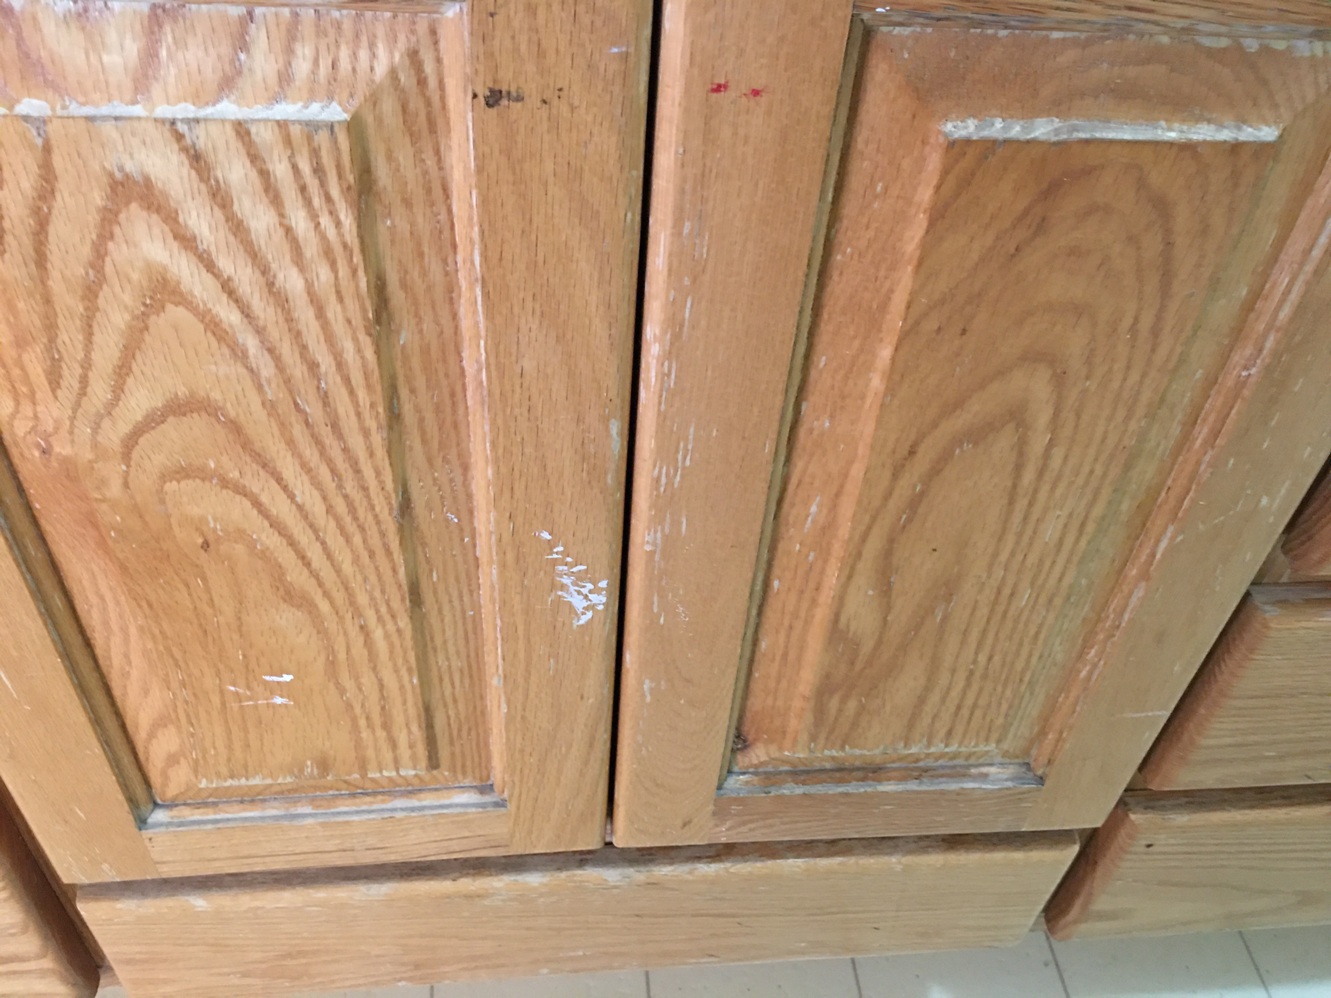
We decided to keep the layout of the bathroom and also the cabinets. They had been custom built and had good solid bones. However, the varnish was wearing off, leaving dull areas, especially on the doors.
"Why don't we keep them just like they are but make them darker?" I suggested.
Paul didn't think that could be done without sanding off all the original finish, a very complicated undertaking.
I was dubious.
He asked the carpenter, who agreed with him. It really wasn't possible. It wouldn't work to paint them, either, because the grain would show through.
I called a professional cabinet refurbisher in Eugene. He also said the original finish would need to be sanded down completely and quoted me a price that would have paid for a whole new custom-built arrangement.
"Humph," I said.
I contacted my friend JoAnne from Texas, who sent me to Pinterest. "I know it's been done," she said.
Yessssss. Paul was willing to try. I think that since his accident and learning to do all the things he "shouldn't" be able to do, he's more willing to find a way around obstacles.
We bought cans of stain at Jerry's, the home-improvement store where an employee had the audacity to tell me he doesn't like Pinterest.
I thought but did not say: Too bad for you.
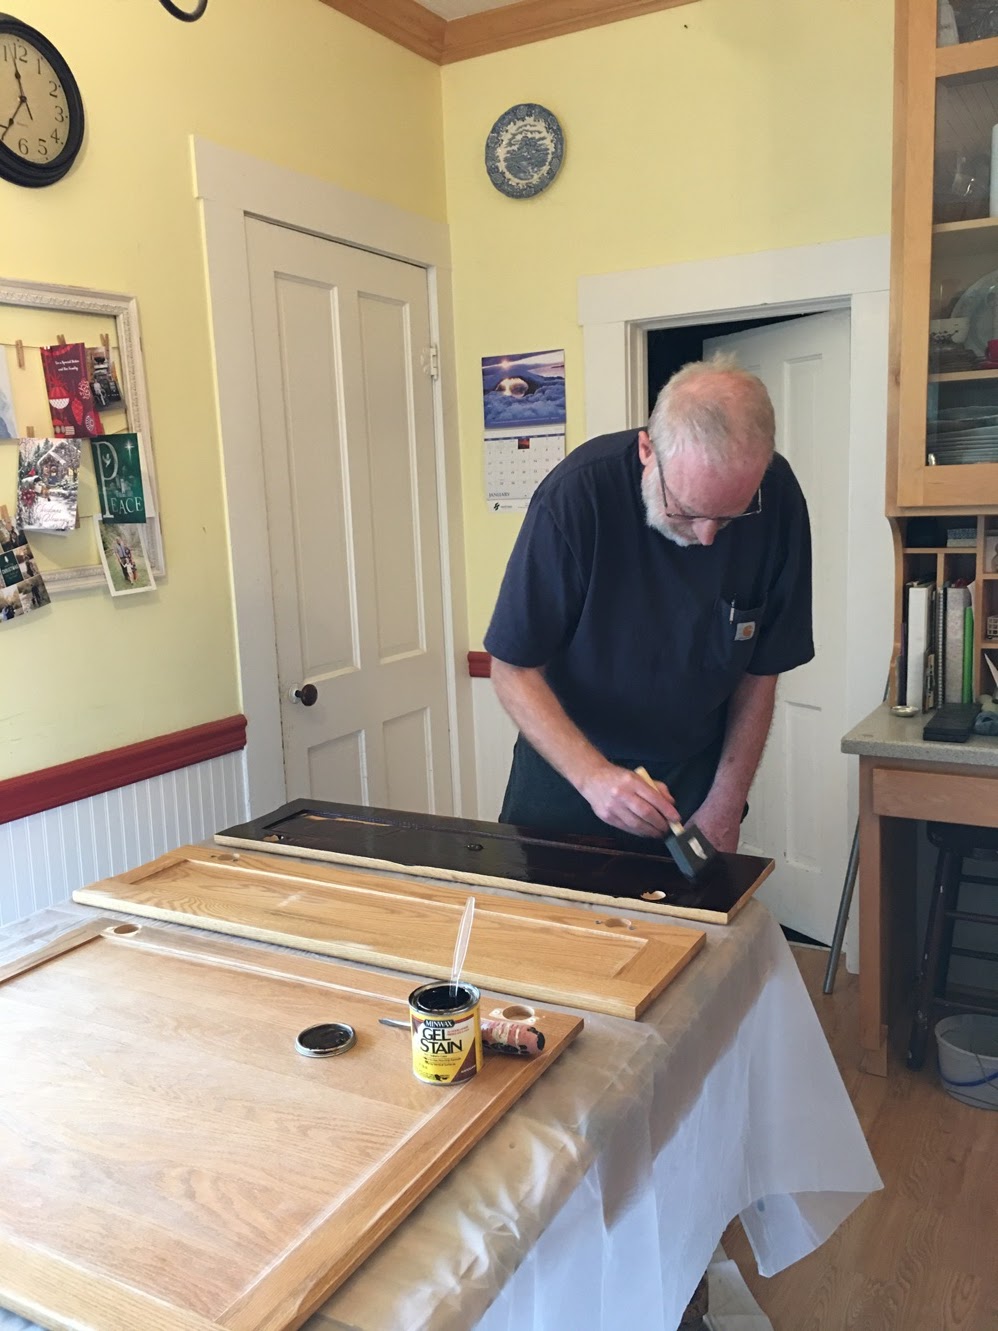
Paul decided to experiment on the inside of the doors. He took off the doors and the drawer fronts despite his bum arm and began to slather stain on the back of a door as per instructions.
The website had told us to put on multi layers of stain, which created a dark, opaque finish with the wood grain showing through. It looked ok but not beautiful.
Paul tried a different stain on the back of a different door, and I saw that a single layer, spread on and then wiped off after a few minutes, was exactly the look I wanted.
He perfected the process on the back of some drawers, then administered the same treatment to all the drawers, doors, and frames.
First, he or Steven sanded them lightly.
Then, he brushed on the stain. He tried to follow the grain of the wood. Then he wiped it off.
We found that he had to be really careful with the initial application, because any attempt to touch it up soaked and peeled off some of the first application.
Also, the doors didn't stain as nicely as the drawers, because of all the areas where the varnish had worn off. We decided we would say they look "distressed."
Kevin the carpenter added the final clear coat.
Overall, we're really pleased with the result. I am very happy that I kept believing it could be done despite all the knowledgeable men who insisted it couldn't.
 |
The end result, with exactly the dark shade I wanted.
This was before the new counter was on and after the new floor was in,
which is kind of jumping to the end of the chapter. |
To avoid overloading subscribers' email feeds with photos, I'll do a second post with the rest of the bathroom.


They look great! Good job with your persistence. Pinterest can be wonderful.
ReplyDelete